
Last updated October 31, 2026
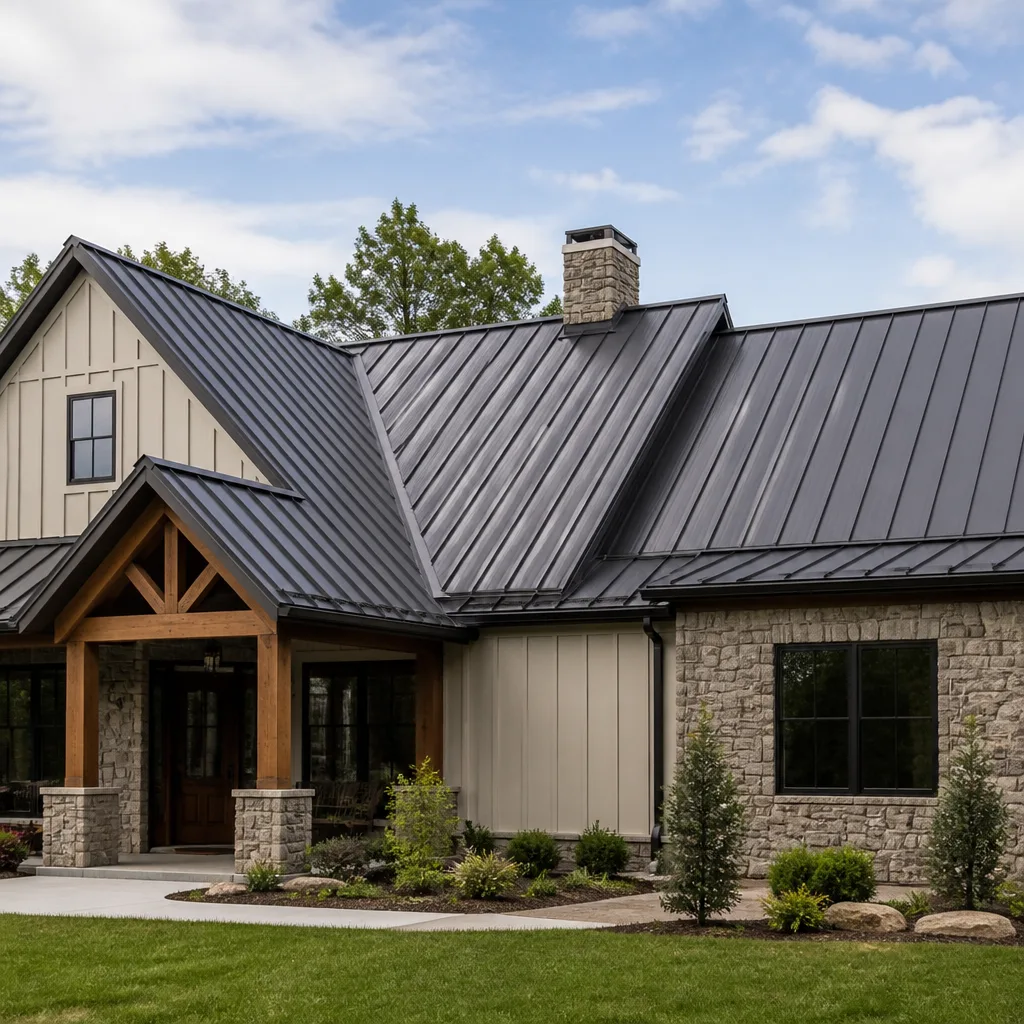 Metal roofing
 Architectural shingles
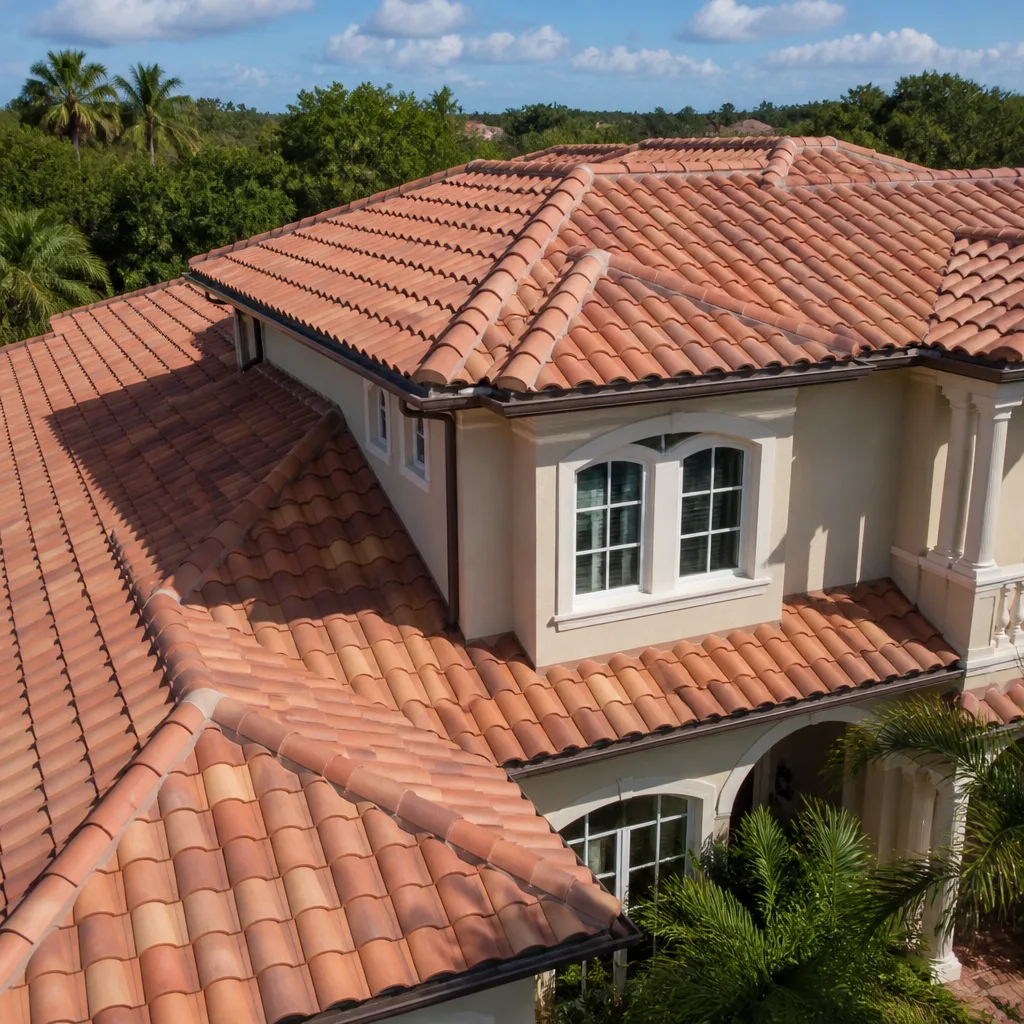 Tile roofing
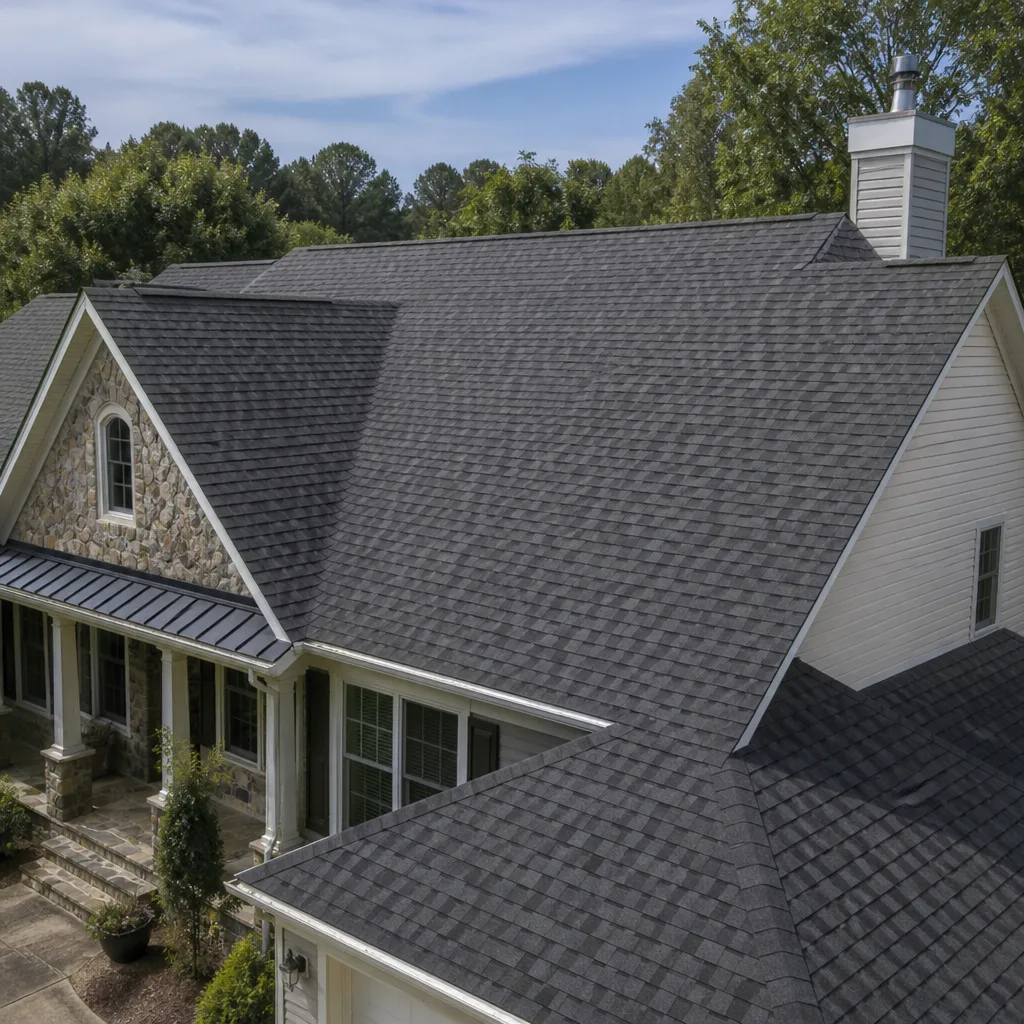 GAF
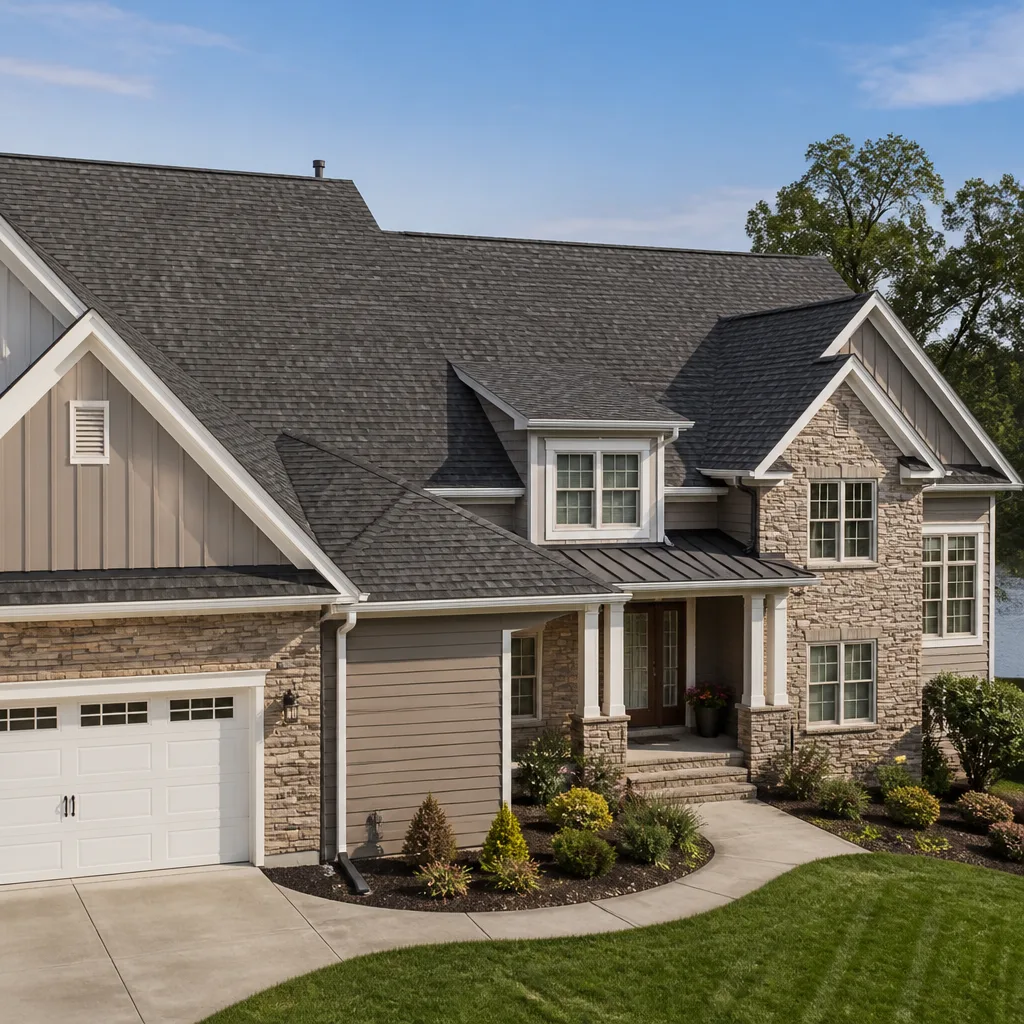 Owens Corning
 Flat & low-slope
Free roof inspection with deck photos before we talk money - GAF and Owens Corning certified installation
Roofing Emergency Preparedness Guide for Corona Homes
During a Santa Ana wind event, the gap between calling a reputable roofer and getting an emergency tarp installed can stretch to 72 hours. Homeowners who haven’t pre-identified a contractor and documented their roof’s condition beforehand consistently get worse insurance outcomes. That lag isn’t just frustrating. It’s the difference between a contained repair and water running through your ceiling insulation, into drywall, and across hardwood floors. This guide covers the two emergencies Corona actually faces: wind damage from Santa Ana events and fire ember exposure from nearby brush fires. You’ll learn how to prepare before either happens, what to do in the first hours after, and how to file a claim in Riverside County that doesn’t get kicked back for missing paperwork.
Styles & brands we work with
Quick Answer
Roofing emergency preparedness in Corona means documenting your roof’s pre-event condition with dated photos, pre-identifying a licensed roofing contractor before storm season, knowing the difference between wind damage and ember exposure response, and keeping a basic emergency kit that includes heavy-duty tarps and roof-specific documentation. The two threats specific to Corona are Santa Ana wind events that tear shingles and lift flashing, and fire ember exposure that can smolder in valley areas and leave damage that isn’t visible from the ground.
Table of Contents
- The Two Emergencies Corona Actually Faces
- Documenting Your Roof Before Anything Happens
- The Santa Ana Wind Response Checklist
- Fire Ember Exposure: What to Look For
- Temporary Tarp Installation: What It Should Look Like
- Filing an Emergency Roofing Insurance Claim in Riverside County
- Choosing a Roofing Contractor Before You Need One
- Common Mistakes to Avoid
- When to Call a Professional
- Frequently Asked Questions
- The Bottom Line
The Two Emergencies Corona Actually Faces
Corona sits in a wind corridor. The Santa Ana winds that blow through the Cajon Pass and down through the Santa Ana River canyon hit this city harder than most of the Inland Empire. When sustained winds push past 40 mph with gusts over 60, shingles start lifting at the edges, flashing pulls away from vents and chimneys, and tile roofs lose their mechanical fastening. We’ve inspected homes in South Corona after wind events where entire sections of ridge cap were peeled back like a sardine can lid.
The second threat is less obvious. Corona’s eastern edge butts up against the Cleveland National Forest, and the Temescal Valley corridor has a fire history that goes back decades. When brush fires burn within a few miles, embers travel on the wind and land on roofs. They settle in valleys, behind chimneys, and where roof planes meet walls. Most homeowners never see this damage because it doesn’t create a leak immediately. It smolders, compromises the shingle’s protective granule layer, and shortens the roof’s life by years. A roof that survives ember exposure without inspection can fail during the next heavy rain.
General emergency guides treat “storm damage” as one category. That misses the point entirely for Corona homeowners. Wind damage requires immediate tarping. Ember exposure requires a professional inspection even when nothing looks wrong from the street. Different preparation, different response, different documentation for insurance.
Documenting Your Roof Before Anything Happens
The single most valuable thing you can do for your future insurance claim costs you nothing and takes 20 minutes. Document your roof’s condition now, before anything happens. Insurance adjusters evaluate storm damage against a baseline. If you can’t prove your roof was in good condition before an event, the adjuster will assume the damage was pre-existing wear and tear. That’s not malice. That’s the default position when there’s no evidence to the contrary.
Here’s what to record:
- Take photos from every angle you can access safely. Ground-level shots of each roof plane. Ladder shots if you can set one up safely against a stable surface. Drone photos are even better if you have access to one. Capture the entire roof surface, not just the areas that look interesting.
- Photograph the details. Ridge caps, valleys, flashing around chimneys and vents, pipe boots, skylight surrounds, and gutter lines. These are the areas Santa Ana winds hit first.
- Date-stamp everything. Digital photos carry metadata, but add a visible date in the photo when possible. A newspaper in frame works. So does a phone screen showing the date.
- Keep your original installation or last repair invoice. If you don’t have it, request it from the previous owner’s records or your real estate file. This establishes roof age, which matters enormously for claim valuation.
- Store everything in at least two places. Cloud storage and a local backup. Insurance claims happen during chaotic weeks. You don’t want to discover your only photos were on a phone that got water damaged.
- Schedule a professional Roof Inspection in Corona every 2 to 3 years. A written inspection report from a licensed contractor creates a dated, third-party baseline that insurance companies treat differently than homeowner photos. It’s an independent record of condition.
This documentation sequence does more than help with claims. It tells you honestly what your roof can handle. If an inspection finds loose flashing or aging sealant before Santa Ana season, you can fix it for a few hundred dollars instead of tarping a torn roof later.
The Santa Ana Wind Response Checklist
Santa Ana events usually come with 48 to 72 hours of advance notice from the National Weather Service. Red flag warnings are common in Corona from October through January. Here’s the checklist that splits the event into three phases: before, during, and after.
48 hours before the wind event:
- Walk your property and secure anything that can become a projectile: patio furniture, trash bins, potted plants, children’s toys, trampolines.
- Photograph the roof from all accessible angles. This is your pre-event baseline.
- Clear gutters of leaves and debris. A clogged gutter in high wind becomes a water dam when rain follows the wind event, which it often does.
- Check for loose shingles or tiles from the ground with binoculars. If you see anything moving, schedule a small repair before the wind hits. A loose shingle is a $200 fix. A torn roof section is a $2,000 tarping and repair job.
- Charge your phone and backup batteries. Power outages during high wind events are common in the hillside neighborhoods of Corona.
During the wind event:
- Stay inside. This seems obvious, but every Santa Ana season brings social media videos of people on ladders filming their roofs mid-storm. Don’t do that.
- Listen for sounds coming from the roof: flapping, grinding, scraping. Note the time you first hear them.
- Inspect your ceilings with a flashlight for new water stains, especially in rooms directly under roof valleys and around chimneys.
- If you hear a large impact (tree branch, flying debris), note the time and which area of the house it hit.
- Do not attempt to tarp the roof during the wind event. The repair risk outweighs the water damage risk. Water can be mitigated. A fall off a wet, wind-buffeted roof cannot.
After the wind subsides:
- Photograph the roof immediately, from the same angles as your pre-event photos. Side-by-side comparison is powerful evidence for insurance adjusters.
- Walk the perimeter and photograph fallen debris, lifted flashing, missing shingles on the ground, and any visible damage from the street.
- Check the attic if you have access. Look for daylight coming through the roof deck, water staining on rafters, and displaced insulation that indicates water intrusion.
- Call your insurance company to open a claim the same day if you see significant damage. The adjuster queue fills up fast after a major wind event.
- Contact a licensed roofing contractor for an emergency assessment and tarp if needed. Most reputable Corona roofers prioritize tarping for existing and repeat customers first. That’s another reason pre-identifying a contractor matters.
Fire Ember Exposure: What to Look For
Fire ember damage is the most underdiagnosed roofing condition in Southern California. Embers from a brush fire can travel a mile or more on the wind. When they land on a roof, they don’t always ignite immediately. On asphalt shingle roofs, they can smolder in place, consuming the protective granule surface and exposing the asphalt substrate. On tile roofs, they can settle into the gaps between tiles and char the underlying underlayment. Neither condition is visible from the ground.
Here’s what to look for after a fire comes within a few miles of your home, particularly if your property sits near the foothills of the Santa Ana Mountains or along the Temescal Valley corridor:
- Granule loss in valleys and along eaves. Check your gutters for unusual amounts of dark granules. Ember contact accelerates granule shedding. If your gutters look like a sand trap after a fire event, get an inspection.
- Small circular or irregular burn marks on shingles. These are visible from a ladder but rarely from the ground. They look like cigarette burns on the shingle surface.
- Charring or darkening around pipe boots and vents. Embers collect behind vertical penetrations. The rubber boot around a plumbing vent is combustible. If it looks melted, warped, or darkened, that’s an ember exposure signature.
- Brittle or crumbling underlayment visible at the eave edge. This requires a professional to assess, but you can check from the ground with binoculars for visible cracking or discoloration along the roof edge.
- A persistent smoke smell in the attic weeks after the fire. This indicates something organic is still smoldering or charred material is trapped above the ceiling.
The critical difference between wind damage and ember exposure: wind damage is obvious and immediate. Ember damage is invisible and slow. A roof that absorbs ember exposure without inspection may not fail for two or three years, and when it does, the failure looks like normal aging. The insurance claim window has closed by then. If a fire came within a few miles of your Corona home, schedule a professional Roof Inspection in Corona. The inspection fee is small compared to the cost of replacing a roof that failed prematurely because ember damage was never documented.
Temporary Tarp Installation: What It Should Look Like
Tarps are not repairs. They’re buying time. A properly installed tarp prevents water intrusion for 30 to 90 days while you work through the insurance claim and schedule the permanent repair. A badly installed tarp fails in the first rain and often creates additional damage. When an emergency crew tarped your roof, here’s how to evaluate whether they did it right.
Coverage: The tarp should extend at least 4 feet beyond the damaged area on every side. Water travels horizontally under roofing materials. A tarp that only covers the visible hole leaves the edges exposed. On a steep roof plane, water that hits above the tarp runs under it if the top edge isn’t secured properly.
Securing method: The tarp’s top edge should be tucked under the second course of shingles above the damage and secured with roofing nails or screws through furring strips. The sides and bottom should be anchored with nailed wooden strips, not loose bricks or rocks. Bricks blow off in wind and become projectiles. Sandbags shift. A properly fastened tarp will have visible wooden battens along every edge.
Seam treatment: If multiple tarps overlap, the upper tarp must overlap the lower tarp by at least 12 inches, and the seam should face downhill. Any seam facing uphill will catch water and funnel it directly into your roof deck.
Slope and drainage: The tarp should follow the roof contour smoothly with no sags, wrinkles, or ponding areas. A sagging tarp holds water, adds weight, and eventually tears its own fasteners loose. If the tarp looks like it’s holding a puddle, call the crew back.
Penetration points: Best practice is to seal every nail or screw penetration with roofing cement or a peel-and-stick patch. Naked fasteners are leak points. When the tarp comes off, the roof deck needs patching at each penetration. A crew that skips this step is creating extra repair work for later.
In our experience, the crews that do this work well are the ones that do actual roofing, not just emergency board-up. An Orange County Roofing Co home team installs tarps the same way we’d install permanent roofing: with attention to slope, overlap, and fastener sealing. That consistency matters when your roof is exposed for six weeks waiting on an adjuster.
Filing an Emergency Roofing Insurance Claim in Riverside County
Insurance claims fail more often from documentation gaps than from actual coverage disputes. Homeowners in Corona file claims through their homeowner’s policy, and the adjuster evaluates the claim against three things: the age and condition of the roof before the event, the specific cause of damage, and the actual cost to repair or replace. Here’s the documentation sequence that prevents disputes.
Step 1: File notice immediately. Most policies require prompt notification. Call your insurance company’s claims line the same day you discover significant damage. Get your claim number in writing. The adjuster queue after a Santa Ana event or brush fire fills up within 48 hours.
Step 2: Photograph everything before any cleanup begins. Do not move fallen debris, sweep granules out of gutters, or remove damaged materials until you’ve photographed them in place. Adjusters need to see the damage as it happened, not as it looked after you cleaned up.
Step 3: Document the causal event. Weather records from the National Weather Service, news reports of the specific wind event or fire, and neighbor testimonies all help establish that an actual covered peril occurred. This is where your pre-event photos pay off. An adjuster looking at side-by-side photos of a sound roof and a damaged roof has very little room to argue pre-existing condition.
Step 4: Get multiple roofing contractor estimates. The insurance company will provide their own estimate, often based on software pricing rather than actual local market rates. A contractor’s itemized estimate that disagrees with the adjuster’s number is your most powerful negotiation tool. Corona’s roofing market has specific pricing that adjusters from outside the region don’t always account for. When we provide written estimates for insurance claims, we itemize every line so the homeowner can show exactly where the adjuster’s number falls short.
Step 5: Request the adjuster’s report and review it line by line. Adjusters routinely omit items that are required by building code. In Corona, that includes fire-resistant underlayment requirements in certain zones, reinforced nailing patterns for wind resistance, and specific ventilation requirements. If the adjuster’s scope of work doesn’t meet Riverside County code, that’s grounds for a supplement.
Step 6: Negotiate the settlement before signing anything. You don’t have to accept the first number. If your contractor’s estimate is higher, submit it with a letter explaining the discrepancy. Most claims settle somewhere in the middle.
One note that matters: your homeowner’s policy covers the like kind and quality of what was there before the damage. If your roof was 15 years old with a 30-year shingle, the claim covers the depreciated value of the remaining life. If the roof is beyond its rated life, the claim may be denied as normal wear. That’s another reason the pre-event documentation matters. A record of good condition extends the credible life of the roof in the adjuster’s eyes.
Choosing a Roofing Contractor Before You Need One
When a tree branch goes through your roof at 2 a.m., you don’t have time to vet contractors. You’ll call whoever answers the phone. That’s how homeowners end up with unlicensed crews, cash deposits that disappear, and repairs that fail in the next rain. The solution is to choose your roofing contractor before the emergency happens.
Here’s the pre-qualification list:
- California contractor’s license in active status. You can verify this on the Contractors State License Board website in two minutes. A valid license means the contractor has passed trade exams, carries required insurance, and has a bond on file.
- Local presence. A contractor based in or near Corona can respond faster after a wind event and will be there for warranty work years later. Out-of-town storm chasers follow disaster zones and disappear after the claim checks clear.
- Written estimates with line items. A contractor who can’t itemize a repair estimate won’t itemize an insurance claim either. Ask for specifics: materials, labor, disposal, equipment, permits if required.
- Manufacturer-backed warranty access. If your roof needs replacement after a major event, you want a contractor authorized to install products backed by the manufacturer’s own warranty. A contractor with access to multiple brands can recommend honestly. We install GAF, CertainTeed, Owens Corning, IKO, Atlas, Tamko, and Boral, which means the material recommendation comes from your roof’s needs, not a sales quota. If Atlas fits your roof profile and budget better than Tamko, that’s what we recommend. If Boral tile is the right call for a hillside home, we install Boral.
- No storm-chaser red flags. Door-to-door solicitation after a wind event, pressure to sign before you talk to your insurer, request for full payment upfront, and no local address are all disqualifiers.
The contractor you pre-identify should also be willing to do a Roof Inspection in Corona as a standalone service. An inspection before anything goes wrong creates the documentation baseline we discussed earlier, and it tells you honestly what condition your roof is in before the Santa Ana season starts. If you already have a relationship with a contractor who has inspected your roof, you’ll move to the front of their response queue when the wind hits. That’s not favoritism. That’s business logic. We prioritize existing customers because we know their roofs and we know they’ll follow through on the permanent repair.
Common Mistakes to Avoid
- Assuming your insurance will handle everything. Insurance covers like kind and quality of what was damaged, minus your deductible, minus depreciation if your policy is actual cash value rather than replacement cost. Corona homeowners with older roofs are often surprised at how little the check covers. Your documentation and contractor advocacy make the difference.
- Waiting to take photos until after cleanup. The moment you move fallen shingles, sweep granules, or throw away damaged materials, you’ve destroyed evidence. Document first. Clean up later.
- Accepting the first tarp crew that shows up. Unlicensed storm chasers flood disaster areas within hours. Their tarps often fail in the first rain, and they’re gone before you notice the water damage. Verify licensing before letting anyone on your roof.
- Ignoring ember exposure because there’s no visible leak. This is the most expensive mistake on the list. Ember damage that isn’t documented and repaired shortens roof life by years, and the failure looks like normal aging to an adjuster.
- Skipping the pre-event inspection because the roof “looks fine.” Your roof doesn’t tell you it’s failing until water is coming through the ceiling. An inspection catches loose flashing, dry sealant, and granule loss before the wind turns those small issues into tarp-level emergencies.
- Signing a repair contract before your insurance claim is approved. Some contractors will pressure you to sign immediately to “lock in priority.” What you’re actually locking in is a contract price that may not match what the insurance pays out. Let the claim process run, then sign a contract based on the actual scope of work.
- Choosing a contractor based on price alone after an emergency. The low bid is often low because it omits code-required work. A roof repair that doesn’t meet Riverside County code will cost more to redo than the premium you paid for a code-compliant repair the first time.
When to Call a Professional
Some roofing issues can wait. Most emergencies can’t. Call a professional if you see water actively entering the home, if a tree or large branch has impacted the roof, if shingles or tiles are visibly missing after a wind event, or if a fire came within a few miles and you haven’t had an ember damage assessment. Call before the visible damage becomes structural damage. Call before the insurance adjustment window narrows. Call before the small repair becomes a full Roof Replacement in Corona.
Orange County Roofing Co offers free estimates in Corona. We handle the full roofing lifecycle from inspection to emergency repair to full replacement, and we install products from seven major manufacturers so the material recommendation fits your roof and budget, not our margin. Call (866) 942-4187 to schedule your estimate.
Frequently Asked Questions
Emergency roof repair in Corona typically runs $350 to $800 for minor shingle replacement, $500 to $1,200 for flashing repair and re-sealing, and $800 to $2,500 for tarp installation over a damaged roof section. Larger structural repairs after a major wind event run higher and are usually insurance claims. The exact cost depends on roof pitch, material type, and how much water has already entered the roof deck. Call (866) 942-4187 for a free estimate with a written line-item quote.
Yes, standard homeowners insurance covers wind damage from Santa Ana events as a named peril, subject to your deductible and the policy’s replacement cost or actual cash value provisions. The key to a successful claim is documentation: pre-event photos, a dated inspection report, and photographs of the damage before cleanup. Coverage gets complicated when the roof is beyond its rated life, because the insurer will argue the wind didn’t cause the failure, age did. That’s where your pre-event inspection record becomes the deciding document.
It should not, and any reputable contractor in Corona will put that in writing. Fixed pricing means the estimate covers the full scope of work described, with no change orders unless the homeowner expands the project. If the contractor discovers additional damage that was hidden under the roof deck, that’s handled as a supplement to your insurance claim, not as a surprise line item on your personal bill. Before signing any contract, ask specifically: “If you find more damage, how does that get handled?” Get the answer in writing. Call (866) 942-4187 for an exact quote on your emergency repair or Roof Replacement in Corona project.
Tarp installation takes 2 to 4 hours from arrival. Permanent shingle repair takes half a day to a full day, depending on the extent of damage and roof accessibility. Flashing replacement around a chimney or skylight takes 4 to 6 hours. A full roof replacement after a major wind event takes 2 to 5 days, depending on roof size, pitch, and material choice. The longest part of an emergency repair is usually the wait for an insurance adjuster, not the actual roofing work. That’s why tarping comes first, and why having a pre-identified contractor moves you up the response queue.
Document the damage with close-up photos, including a reference for scale, and schedule a professional Roof Inspection in Corona immediately. Do not assume the damage is cosmetic. Ember exposure can compromise the shingle’s protective layer and the underlying underlayment without creating a visible leak. If the fire came within a few miles and your roof is asphalt shingle, the granule loss alone can shorten the roof’s service life and void the manufacturer’s warranty. An inspection establishes the damage for an insurance claim or manufacturer warranty claim. Call (866) 942-4187 for a free estimate.
Emergency tarping and temporary stabilization generally do not require a permit in Riverside County, because the work is classified as temporary protective measure. Permanent repairs that involve structural replacement, re-sheathing, or a tear-off and reroof do require a permit through the City of Corona’s building division. A licensed contractor handles permitting as part of the project. The permit exists to verify the work meets current code, including wind resistance and fire-resistant underlayment requirements that have changed since many Corona homes were built.
A professional inspection determines this, but the general rule is: if less than 20 to 30 percent of the roof surface is damaged, repair is usually the right call. If wind has lifted shingles across multiple planes, stripped ridge caps, or exposed the underlayment in valley areas, replacement is often more cost-efficient and provides better long-term protection. The same logic applies after ember exposure: scattered burn marks can be repaired, but widespread granule loss across the roof surface means the roof’s protective layer is compromised, and a Roof Replacement in Corona may be the better financial decision. Our inspection tells you exactly what your roof needs, nothing more.
The Bottom Line
Roofing emergencies in Corona aren’t random. They come from Santa Ana winds and fire embers, and they follow predictable patterns. Homeowners who document their roof before anything happens, choose a contractor before the emergency hits, and understand what proper temporary protection looks like get better insurance outcomes and faster permanent repairs. The preparation costs almost nothing. The alternative, a tarp that fails in the next rain, a claim denied for lack of documentation, or ember damage that silently shortens your roof’s life by years, costs thousands. Corona homeowners face real risks on the roof. Preparation is the one thing that reduces all of them at once.
Written by the team at Orange County Roofing Co, serving Corona since 2015.
See the difference
 Before
 After
 Before
 After
 Before
 After